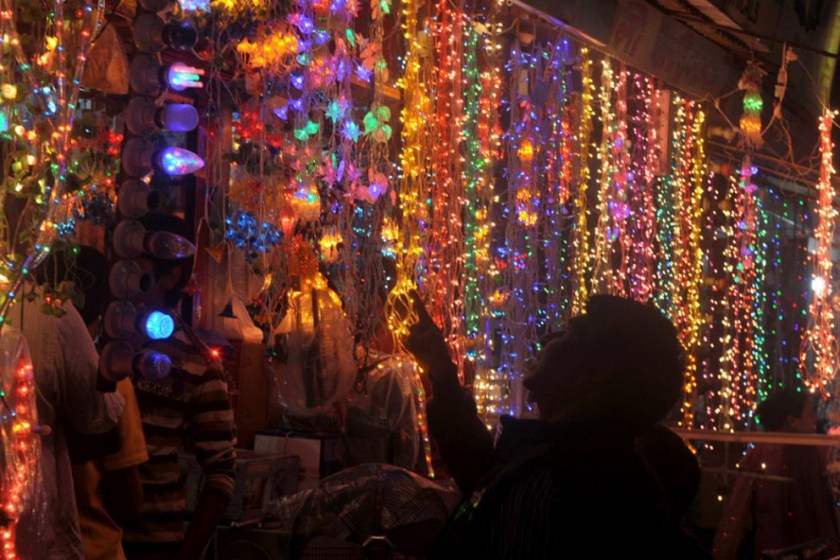
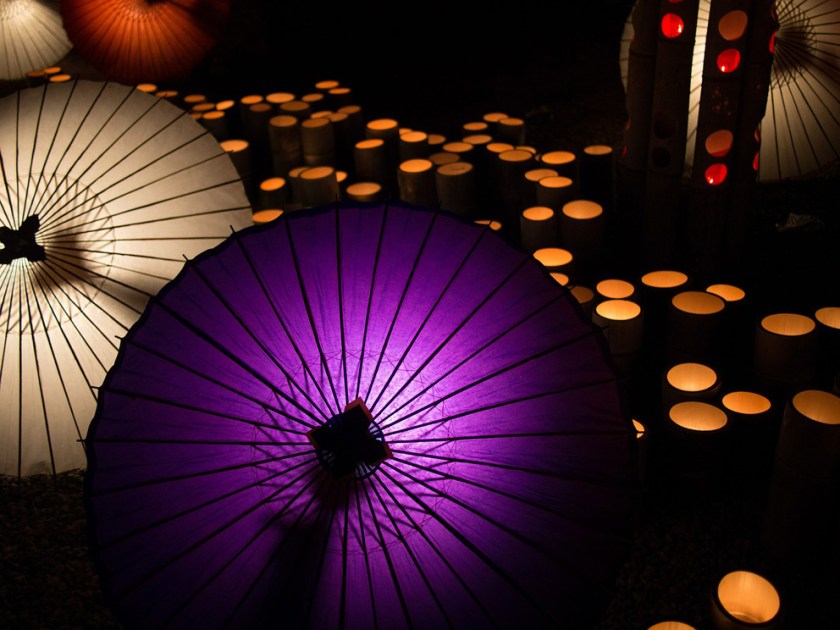
Frustrated with your attempts to take photos at night? Don’t worry, you’re not alone. Shooting at night is one of the more challenging subjects in photography.
Regardless of the subject of your night photography – night cityscapes, light painting, etc. – the following tips will help get you started to mastering a number of basic photography techniques that will enhance your night photography results.

The first thing you need to do is to buy and use a tripod. Shooting at night when there’s less light means you’ll have to use slower shutter speeds. Your shutter speed could range from 1-30 seconds – much too slow to shoot hand-held. So using a tripod is a must if you want sharp results when shooting at night.
Your tripod should be solidly placed (the heavier your tripod the better).
When taking long exposures at night, even with your camera mounted on a tripod, you need to do everything you can to avoid any movement of your camera. Just pressing the shutter button can create enough movement to result in blurred shots. Avoid this by either using a remote shutter release, or the self-timer built-in to your camera.

Remember, the slightest movement can create unwanted camera shake, even the movement of the mirror in your camera. So, enable Mirror Lock-Up (easy to do – your manual will outline the steps). And finally, if your camera has Image stabilization, make sure to turn it off as the movement of the stabilization motor can also cause blurred shots.

Once your camera is set-up on the tripod, set your camera to Manual mode, so you will be able to control both aperture and shutter speed. If your subject is static, begin by setting a wide aperture (which allows more light to hit your camera’s sensor) – f2.8 for example. Then dial-in the correct shutter speed until your Exposure is set at ‘0’. Take the shot and review it on your camera’s LCD screen. If your photo looks too bright, narrow your exposure by one or two stops, adjust the shutter speed, and retake the shot. By experimenting, you’ll get the right combination.

If you want to capture movement at night – car taillights or a moving Ferris wheel – a longer exposure is required – figure at least one second for a start. Set a narrow aperture, f8 for example, dial-in a shutter speed that brings your Exposure to ‘0’, and take a shot. Again, experiment to get the right settings.
Final tip – keep your ISO as low as possible (100 to 400). While increasing ISO allows you to take photos in low-light situations, it also increases noise in your photos. With your camera on a tripod, you’ll be able to shoot at night using a low ISO with no problem.
Night photography is challenging, and experimentation is the key to success. The more you practice with the combinations of apertures and shutter speeds settings, the better you’ll get at taking beautiful night photos.